As Starlink, SpaceX’s satellite internet service, expands its coverage, more people are looking to install Starlink to take advantage of its high-speed internet in remote and underserved areas. This guide provides a step-by-step process for installing Starlink, ensuring you get the best performance from your new service.
What You Need for Starlink Installation
Before diving into the installation process, it’s essential to know what comes with your Starlink kit and what additional tools or equipment you might need.
Starlink Kit Includes:
- Satellite Dish (Dishy McFlatface)
- Wi-Fi Router
- Mounting Tripod
- Cables and Power Supply
Additional Tools (Optional but Recommended):
- Permanent Mounting Options (e.g., roof mounts, wall mounts)
- Basic Tools (e.g., drill, screws, ladder)
Step-by-Step Starlink Installation Guide
- Unbox Your Starlink Kit
- Carefully unpack the Starlink kit. Ensure all components are present and undamaged.
- Choose the Installation Location
- Select a location with a clear view of the sky, free from obstructions like trees or buildings. This is crucial for optimal satellite connectivity.
- Common locations include rooftops, open fields, or mounted on poles.
- Assemble the Dish and Mount
- Attach the satellite dish to the mounting tripod or your chosen permanent mount.
- Secure the dish firmly to withstand wind and other weather conditions.
- Connect the Cables
- Run the provided cables from the dish to the Wi-Fi router. Ensure the connections are tight to prevent signal loss.
- Plug the power supply into an outlet and connect it to the router.
- Position the Router
- Place the router in a central location within your home or office to ensure even Wi-Fi coverage.
- Avoid placing the router in enclosed spaces or behind large objects.
- Power Up and Initialize
- Power up the system. The dish will automatically adjust to find the best satellite signal.
- This process can take a few minutes. Once the dish locks onto a signal, the router will establish an internet connection.
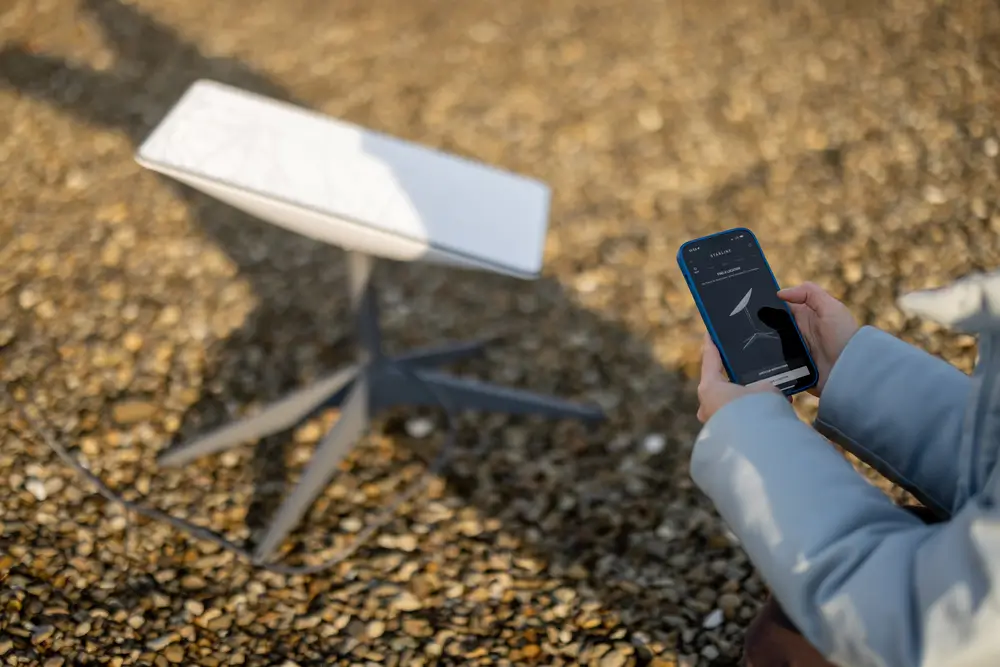
- Configure Your Network
- Use the Starlink app or web interface to set up your Wi-Fi network name and password.
- Test the connection on multiple devices to ensure everything is working correctly.
Tips for Optimal Performance
- Regular Maintenance: Periodically check the dish for obstructions and clean off any debris or snow.
- Firmware Updates: Keep your Starlink system updated with the latest firmware to benefit from performance improvements and new features.
- Network Security: Regularly update your Wi-Fi password and use strong encryption settings to protect your network.
Professional Installation Services
While the Starlink kit is designed for easy self-installation, professional installation services are available for those who prefer expert assistance, particularly in challenging environments such as rooftops or remote areas.
Starlink Installation Pros offers expert installation services to ensure your Starlink system is set up for optimal performance. Our team of certified technicians provides:
- Site Assessment: We evaluate your location to determine the best placement for your satellite dish to ensure maximum connectivity.
- Custom Mounting Solutions: We offer a range of permanent mounting options, tailored to your specific needs and environmental conditions.
- Complete Setup and Configuration: From assembling the dish to configuring your network, we handle the entire installation process.
- Ongoing Support: Our support doesn’t end after installation. We offer ongoing maintenance and troubleshooting services to keep your system running smoothly.
By choosing Starlink Installation Pros, you can be confident that your Starlink system will be professionally installed and optimized for the best possible performance. Contact us today to schedule your installation.
By following these steps and tips, you can successfully install Starlink and enjoy high-speed internet even in remote locations. For the latest updates and detailed information, always refer to the official Starlink website.